
How to Remove the Background from an Image for Sticker Printing
To remove the background from an image for a sticker, use a background remover in a photo app to cut out your subject, check the edges up close, and save it as a PNG with a transparent background at the largest size you have. A clean cut-out is what lets a die-cut sticker follow the shape of your design instead of printing as a rectangle. Or skip all of it: at KAD Sticky, send us your image and our designers remove the background for free.
In this article
What "removing the background" means
Removing the background separates your subject, like a logo, a pet, or a person, from everything behind it. What's left is the subject on a transparent background. For a sticker, that tells us where the design ends, so the cut can follow its outline.
If you keep the background, your sticker prints as a shape filled with that background, often a white or colored rectangle. Both are fine; it depends on the look you want.
| Background removed | Background kept | |
|---|---|---|
| Sticker shape | Follows the outline of your subject | A rectangle, circle, or other shape you choose |
| Looks like | A cut-out of your logo or character | A small poster or photo |
| Best for | Logos, characters, pets, lettering | Photos, scenes, designs with a full background color |

Do you need to remove the background yourself?
No. At KAD Sticky, background removal is free on every order. Upload your image, tell us whether you want only the subject cut out or the background kept, and we'll show you the result on your free proof before anything prints.
Doing it yourself is still useful if you want to see the result right away or reuse the cut-out elsewhere. Here's how.
How to remove a background, step by step
Most photo and design apps now include a one-click background remover. Some features may need a paid plan. The steps are similar everywhere:
- Start with the largest, sharpest version of your image. A screenshot or a tiny image from social media will look soft at sticker size.
- Run the background remover. Most apps detect the main subject automatically.
- Zoom in and check the edges. Look for leftover bits of background, missing parts of the subject (hair, fur, thin lines), and halos of the old background color.
- Clean up by hand with the erase and restore brushes if needed.
- Remove effects you don't want printed, like drop shadows or glows. They become part of the sticker shape.
- Export as PNG with a transparent background. A JPG can't keep transparency, so the background turns white again.

Using a photo app or design tool
In most design tools, upload your image, select it, and look for an option like "Remove background" or "Background remover." Fine-tune the edges, then download it as a PNG with a transparent background.
Using professional editing software
In professional editors, use the subject selection tool, refine the edges (especially hair and fur), delete or mask the background, and export as PNG. This gives you the most control over tricky edges.
Common mistakes (and how to fix them)
| Mistake | What happens on the sticker | Fix |
|---|---|---|
| Saving as JPG | The background comes back as white | Export as PNG with transparency, or send us the JPG and we'll handle it |
| Leftover background pixels | Specks or a faint outline around your design | Zoom in and erase them before exporting |
| Cutting off fine details | Hair, fur, or thin lines look chopped | Restore the edges by hand, or ask us to |
| Drop shadows and glows | The shadow becomes part of the sticker shape | Turn effects off before exporting |
| A tiny or blurry image | Soft, pixelated edges | Use the original photo, or send what you have and we'll clean it up |
| Separate pieces | Parts of the design float apart and can't be cut as one sticker | Keep the design in one connected shape, or add a border that joins the pieces |
How to tell if your file is ready
- The background is transparent (it shows as a gray-and-white checkerboard in most apps).
- The edges look clean when you zoom in.
- No shadows or effects you don't want printed.
- The image is the largest version you have.
- Your design is one connected shape, or you're happy for us to add a border.
Not sure? Send it anyway. We check every file by hand and fix what won't print well.
White border or no border?
Most die-cut stickers have a thin white border around the cut-out design. It keeps the cut clean and helps your design stand out on dark surfaces. Tell us if you'd like no border, a thinner one, or a different color, and you'll see it on your proof.
More on cuts and borders: Die-Cut vs Kiss-Cut vs Sticker Sheets
Skip the editing: let our designers do it
- Upload your image when you order: any common file, including JPG or a phone photo.
- Tell us whether to remove the background or keep it, and anything else you'd like changed.
- Get your free proof within 1 business day showing exactly how your sticker will be cut.
- Approve or ask for changes. Revisions are unlimited, and nothing prints until you say yes.
Send us your file. Our designers fix it for free.
How to Prepare Artwork for Sticker Printing (or Let Our Designers Fix It Free)
Frequently asked questions
Can you remove the background from my image for free?
Yes. Background removal is free on every KAD Sticky order. Tell us whether you want only the subject cut out or the background kept.
What file format do I need for a transparent background?
PNG keeps transparency. JPG doesn't, but you can still send us a JPG and we'll remove the background for you.
Can I make a sticker from a photo?
Yes. Send us the photo, tell us what to cut out, and we'll prepare it and show you a proof. More tips: How to Turn a Photo Into a Sticker.
Why does my sticker have a white border?
A thin white border keeps the cut clean and makes the design stand out. You can ask for no border or a thinner one.
Do I need to add a cut line?
No. We create the cut line for you, and you'll see it on your proof.
More answers: Artwork & Colors FAQ
Ready to order?
Send us your image, background and all. We'll cut it out for free and send your proof within 1 business day.
Keep reading
In this article
Related articles
Sticker Basics
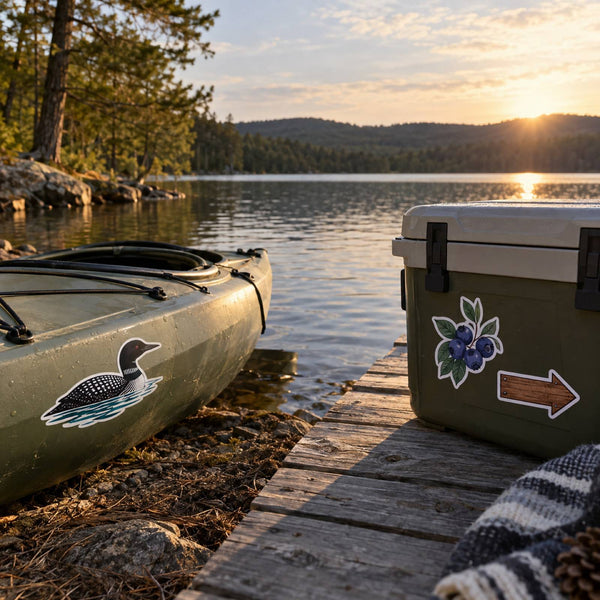
Outdoor Stickers: What Holds Up to Sun, Rain, and Cold

Sticker Basics
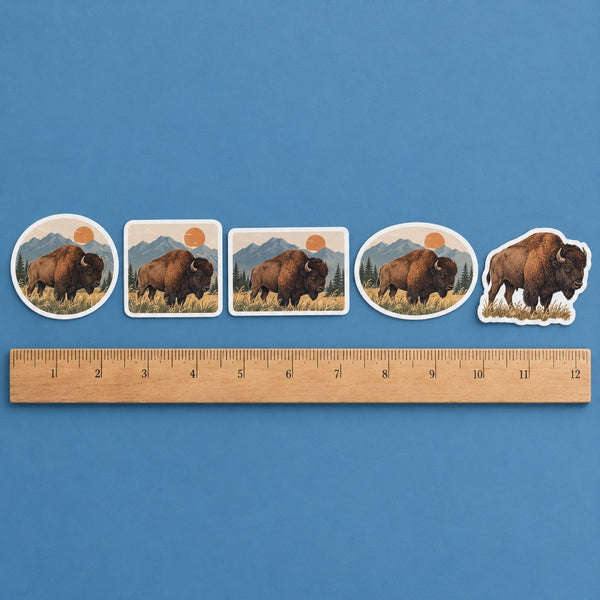
Sticker Shapes: Circle, Square, Rectangle, Oval, or Die-Cut?
Sticker Basics